What a pedal exerciser can and cannot offer
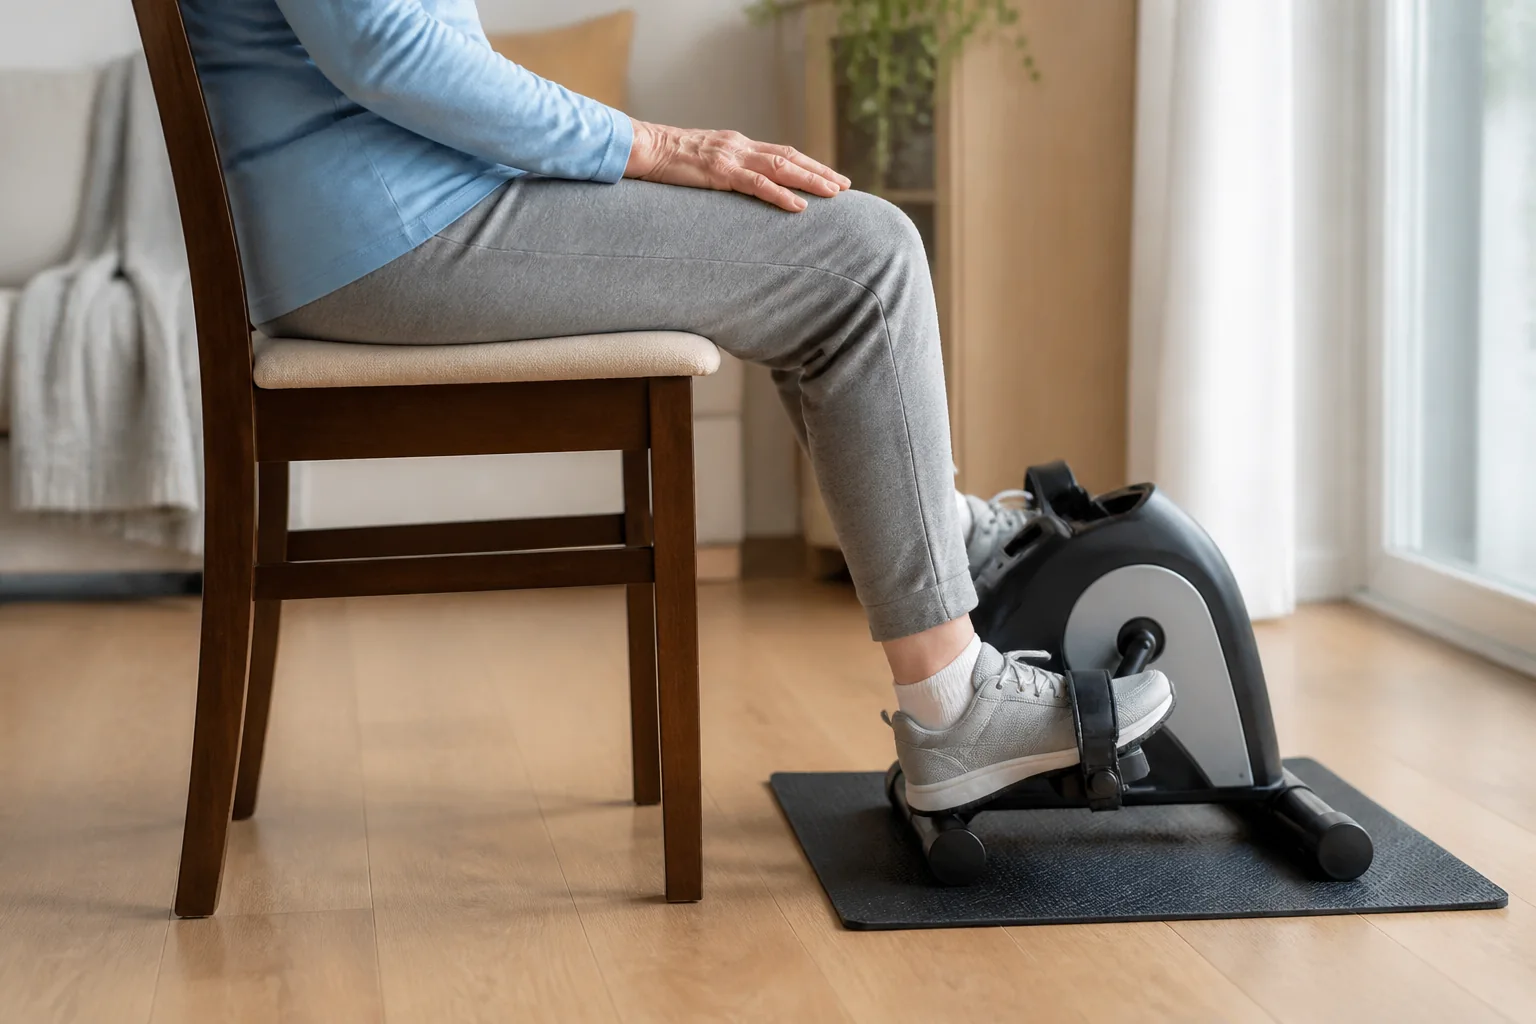
A pedal exerciser is a small crank-and-pedal unit used from a separate seat. You may see it described as a mini exercise bike, portable pedal exerciser, or under-desk bike. Unlike a full stationary bicycle, it does not control the relationship between your seat and the pedals. You create that relationship with household furniture, which makes setup unusually important.
The appeal is straightforward: it is small, can be used indoors, and lets some people move their legs while seated. Those practical advantages may make an activity easier to repeat. They do not prove that the device will relieve a particular knee condition, restore cartilage, prevent blood clots, or replace rehabilitation. A comfortable movement option is valuable without assigning it medical abilities that have not been demonstrated.
Evidence for stationary cycling is relevant but indirect. In a trial of 39 older adults with knee osteoarthritis, both lower- and higher-intensity cycling groups improved over a ten-week program, without a clear advantage for the harder program. That involved structured cycle ergometry, not a test of whichever mini cycle happens to fit under your desk. The original trial supports a cautious interest in cycling, not a guarantee for a product.
Choose the chair before adjusting the pedals
Use a stable chair that does not roll, swivel, rock, or slide as you push against the pedals. A firm seat makes your position more predictable than a deep sofa cushion. A backrest can help you remain comfortable without repeatedly leaning forward. Armrests may be useful for transfers if they do not prevent a suitable seated position. Check the chair itself for loose joints or uneven feet.
Chair height changes how your leg approaches the pedal circle. A very low seat may make the top of the circle feel crowded; a seat that is too high may leave you reaching or perched on its edge. The aim is not a precise universal angle. You want a position in which your pelvis stays settled and the knee can complete the movement without being pushed into an uncomfortable endpoint.
Do not solve an unsuitable chair by balancing on stacked cushions, loose blocks, or unstable risers. That adds a transfer and fall hazard to a knee-comfort question. If you rely on specialized seating, use a wheelchair, or need help to transfer, have a physiotherapist or occupational therapist review the setup. Brakes alone do not establish that every mobility chair is suitable for every pedal device.
Set the distance through a whole slow revolution
Place the pedal unit in front of you on a firm level surface. Sit back in the intended position before judging the distance. When the nearest pedal comes toward you, the knee should not feel jammed toward your chest. At the farthest point, you should not need to point the toes, slide forward, or straighten the knee forcefully just to maintain contact.
Move the unit a small amount and retest slowly. Adjusting only the distance is easier to interpret than changing the chair, resistance, and footwear at the same time. Your comfortable position may differ from a product photograph because leg length, crank size, seat depth, and shoe thickness all vary. No single measurement from chair leg to pedal frame can account for those differences.
Watch what happens after several revolutions, not just the first one. If the chair or unit creeps away, your carefully chosen distance is no longer the distance you are using. If your trunk rocks or your feet repeatedly slip, pause. Those observations suggest that the arrangement needs work, but they do not diagnose why the knee hurts. A video for your therapist can be useful if recorded safely with the device stationary first.
| What you see or feel | Check first | Do not compensate by |
|---|---|---|
| Knee feels crowded near the top | Chair height, seat depth, and distance to the unit | Forcing through the uncomfortable bend |
| Toes reach at the far point | Whether the unit is too far away | Sliding to the chair edge each revolution |
| Pelvis rocks side to side | Distance, resistance, and ability to complete the circle | Increasing speed to hide the rough movement |
| Chair or pedals move across the floor | Surface, stable feet, and manufacturer-approved non-slip setup | Chasing the equipment while still pedaling |
| Knees hit the desk | Actual clearance at the highest pedal position | Twisting the legs outward to avoid contact |
Stop the pedal exerciser from sliding
A portable machine has less mass than a full bicycle, so the surface and its contact points matter. Check that every foot rests evenly and that any folding sections are fully secured. Follow the manual for assembly and maintenance. A thin stable non-slip mat can improve the arrangement when compatible with the device, but a thick soft cushion underneath may make it rock instead.
Keep both the floor and the device feet clean and dry. Test the setup at very easy resistance before settling into a session. If it moves, stop, take your feet out, and reposition it. Do not jam the machine against an object in a way that obstructs the pedals or creates a tipping point. Do not attach improvised restraints unless the manufacturer expressly supports the method.
Basic manufacturer warnings are worth reading rather than treating as packaging. For example, the Sunny mini-bike manual specifies a solid level surface, regular checks for loose parts, and seated use only. It also states that the model is not intended for therapeutic use. These are product-use boundaries, not clinical endorsements. Your own model's instructions may differ, so read its manual before applying any general advice.
Footwear and straps should secure, not squeeze
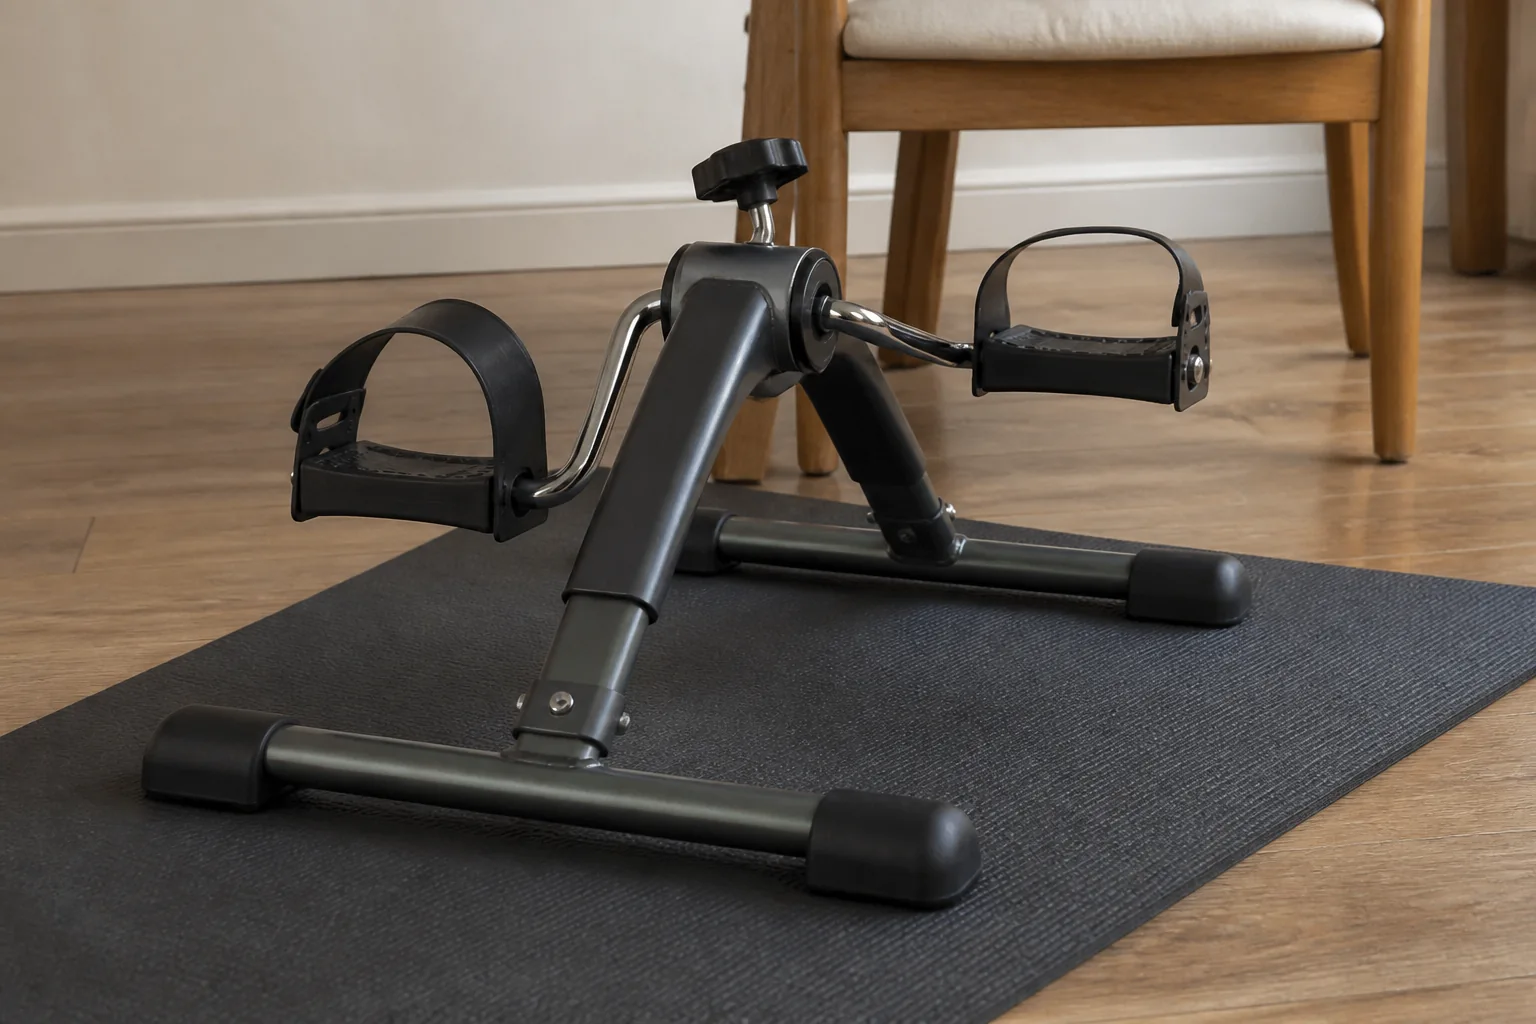
Use footwear that stays on your feet and fits the pedal surface. Loose backless slippers can shift as the pedal turns, and long laces or trailing clothing can catch. If the unit has straps, adjust them as instructed so the foot is supported without uncomfortable pressure. Being tightly strapped in is not the goal. You should also be able to remove your feet safely when the pedals are stopped.
Look at the knee and foot together. Do not force your feet straight ahead if that creates a twisting sensation, and do not use the straps to hold the leg in a painful position. If you cannot keep contact without curling the toes, reaching, or rotating the leg awkwardly, recheck the chair distance and pedal dimensions. Persistent difficulty may mean this particular device is not a good match.
Reduced sensation, poor circulation, skin problems, or difficulty noticing pressure deserve professional guidance before using tight straps or prolonged repetitive contact. Check the skin after an initial session, especially at the top of the foot and around footwear edges. Stop for numbness, tingling, unusual color change, or new pain. Those symptoms should not be accepted as part of getting accustomed to the device.
Under-desk use adds a second fit problem
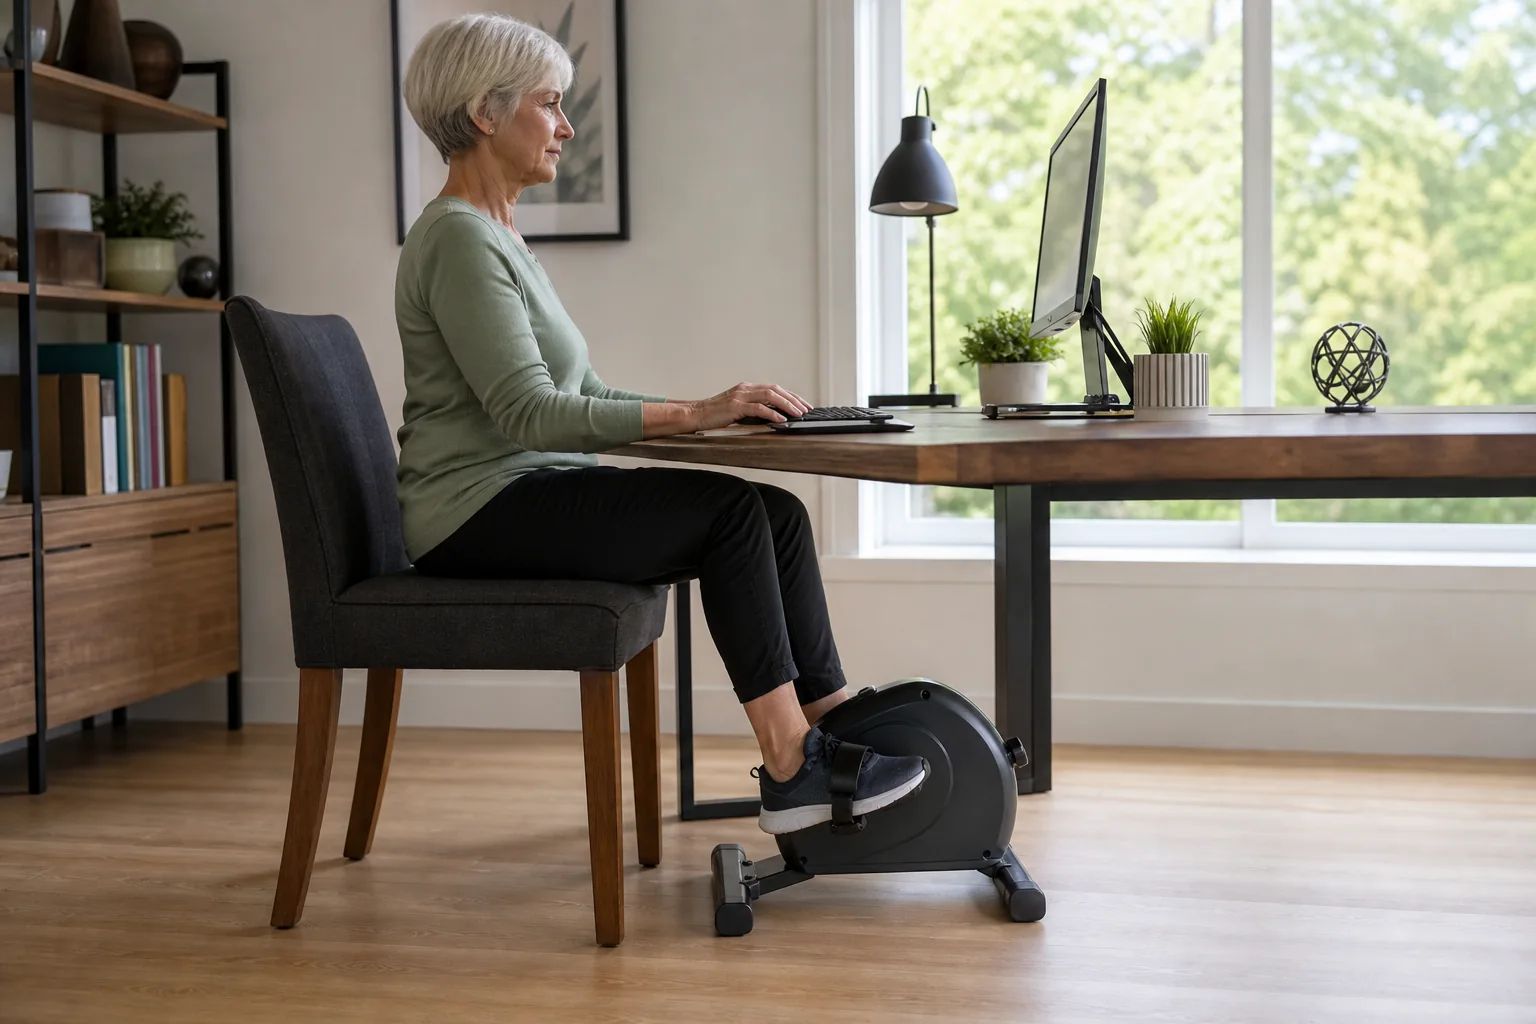
An under-desk bike must fit both your legs and the workspace. Check clearance with the pedal at its highest point, wearing your normal shoes and sitting in the position you actually use for work. Desk aprons, drawers, and cable trays can reduce the available space even when the desktop appears high enough. A product's overall height does not tell you how high your knee will rise.
First test the unit away from the desk so you can see your legs and notice slipping. Only add the desk when the basic setup is comfortable. Keep cables, bags, pets, and loose rugs away from the moving parts. If reaching the keyboard requires a different chair position, recheck pedal distance. Your upper-body workstation and your lower-body exercise arrangement cannot be treated as separate puzzles.
Start without a demanding work task. Multitasking makes it easy to miss a gradual increase in symptoms or accidentally pedal much longer than intended. A visible timer and planned stop point are more useful than assuming you will notice discomfort promptly. If concentration, typing posture, or knee comfort deteriorates, separate the movement break from the work session instead of trying to combine everything.
Begin with movement, not maximum resistance
Choose the easiest practical resistance that lets the pedals turn smoothly. You should not need to brace hard against the chair or push the machine away to complete the circle. The number on a resistance dial is not standardized across products. Some small friction-based units also feel different from larger magnetic bikes, so compare what your body is doing rather than assuming equal numbers mean equal effort.
A short first exposure is enough to check the arrangement. Stop before the point at which symptoms usually build, then notice how the knee feels later and the next morning. If you have an agreed rehabilitation plan, its limits take priority. General advice to start gently is not permission to ignore a procedure-specific restriction, recent injury, or a knee that is already swollen and difficult to move.
When the same easy dose is repeatably comfortable, increase one variable at a time. A little more duration is usually simpler to evaluate than simultaneously pedaling faster and turning up resistance. Leave room for breaks. An entire movie, meeting, or television episode can quietly turn a small movement experiment into a very long session. Convenience does not remove the need to monitor the amount you do.
| Stage | Practical aim | What to record |
|---|---|---|
| Setup trial | Complete comfortable slow circles without equipment movement | Chair, distance, footwear, and any pressure point |
| Initial session | Keep resistance easy and exposure brief | Duration and symptoms during the session |
| Later check | See whether everyday movement stays near baseline | Swelling, stairs, walking, and next-morning stiffness |
| Repeat | Confirm the same dose is consistently manageable | Whether the pattern repeats across several sessions |
| Progress | Change only one variable in a small amount | The exact change and the subsequent response |
If the pedals hurt your knee
Stop the session if pain is increasing, sharp, or changes how you move. Do not try to overcome the problem by pedaling faster, strapping tighter, or adding a motor. Once you are safely off the equipment, review the setup and the amount of activity you have done. Pain location helps describe the problem, but cannot tell you whether a meniscus, tendon, joint surface, or something else is responsible.
If the knee feels cramped, reassess chair height and distance on a later occasion when symptoms have settled. If it hurts only after longer sessions, reduce the dose rather than assuming fit is the only issue. If symptoms persist across reasonable setups or affect daily walking, seek assessment. Our after-exercise knee pain guide discusses why the delayed response matters.
Do not assume the mini unit is better than a full exercise bike simply because it is smaller. A full bike may provide a more consistent seat-to-pedal relationship, while a mini unit may be easier to access at home. If you switch, use the cycling fit guide for that equipment. The two setups share a circular motion but not the same adjustment process.
Motorized, manual, and under-desk elliptical devices differ
A self-powered mini cycle turns because you provide the effort. A motorized unit may move the legs with assistance, depending on its mode. An under-desk elliptical uses a different pedal path again. These are not interchangeable descriptions. Before buying or borrowing, check what movement the device produces, how it stops, whether it is intended for your use, and whether you can exit safely.
Assisted movement may have a place in a professionally directed plan, but a motor should never be used to force a painful or restricted joint. Nor does a moving pedal automatically mean that the muscles are doing the same work as active cycling. If a therapist recommends a particular device, ask which mode, range, duration, and stopping signals apply. Keep those instructions with the equipment.
Build a routine around your actual goal
Plan the end of the session as carefully as the beginning. Let the pedals stop, release the straps, and place your feet securely on the floor before standing. Do not step on the device to help yourself rise. If bending to remove a strap is difficult, arrange assistance or a suitable alternative before starting rather than discovering that problem while you are tired.
Storage is part of a workable home routine too. The unit should not remain in the route from your chair to the door or bathroom. Use its designated handle when provided and follow lifting instructions. A device marketed as portable may still be awkward for you to carry. Decide who will position it, who will move it afterward, and where it can sit without becoming a trip hazard.
If the goal is to interrupt long sitting, a brief pedal break may fit well. If the goal is stronger legs, better balance, or easier stairs, ask whether the routine includes activities that address those demands. A large trial of older adults with knee osteoarthritis found benefits from structured aerobic and resistance exercise programs, but it did not establish seated pedaling as a replacement for all other exercise.
NICE recommends individualized therapeutic exercise for osteoarthritis, and CDC guidance encourages activity that can be repeated and progressed gradually. A small feasibility trial of cycling with muscle-feedback technology also shows that the details of a supervised program matter. None of this means you need a complicated gadget. It means the plan should fit the person, not that the person must fit a gadget.
For movement options that do not depend on a pedal unit, see seated knee exercises for limited mobility. Keep a simple record of what feels manageable and what does not. The best outcome may be a reliable short activity break, an adjusted setup, or deciding that another form of movement suits you better. All are more useful than accumulating painful minutes.
When to Get Medical Help
Seek prompt medical advice for severe knee pain, major swelling, locking, inability to bear weight, or a hot red knee with fever. Persistent symptoms or repeated giving way also need assessment. After surgery or a significant injury, obtain specific clearance before using a pedal device.
Stop exercising and call emergency services for sudden chest pain that does not go away, chest pain with breathlessness or faintness, or sudden face or arm weakness or speech difficulty. Suspected stroke symptoms need emergency help even if they resolve. Do not drive yourself. Other new exercise-related symptoms also need medical advice before you continue.
Frequently Asked Questions
Is a pedal exerciser good for knee pain?
It may be a convenient way to add comfortable seated movement, but benefit depends on the cause of your symptoms, setup, and exercise dose. Research on stationary cycling is encouraging for some people with knee osteoarthritis, but does not establish every mini pedal exerciser as a treatment.
How far should a pedal exerciser be from the chair?
Place it where you can complete a slow revolution without the knee feeling crowded at the nearest point or the leg reaching and locking at the farthest point. There is no universal distance because chair height, leg length, and crank dimensions vary.
What chair should I use with a mini exercise bike?
Choose a stable, non-rolling chair with a firm seat and supportive back. Avoid chairs that swivel, tip, or slide while you pedal. The setup should also let you place both feet safely on the floor before standing.
Why does my pedal exerciser slide forward?
The floor, device feet, mat, resistance, and chair position can all contribute. Stop and secure the setup according to the manufacturer instructions. A thin stable non-slip mat may help, but do not keep pedaling while chasing the machine with your feet.
Can I use a pedal exerciser on a sofa?
A deep or soft sofa may make your hips sink, crowd the knees, or encourage reaching. A stable firm chair is usually easier to set up consistently. If you need specialized seating, ask a therapist to review the whole arrangement.
How long should I use a pedal exerciser?
Start with a short easy exposure that stays below your symptom-provoking dose, then check the knee later and the next morning. Increase one variable at a time. A full television program or work meeting is not a suitable first-session target.
Can I use an under-desk pedal exerciser after knee replacement?
Only when your surgeon or physiotherapist approves that activity and the specific equipment. Clearance depends on healing, range of motion, strength, and other restrictions. Do not use the pedals to force a knee through a restricted or painful range.
Is a motorized pedal exerciser better for stiff knees?
Not automatically. Motorized and self-powered devices create different tasks, and passive movement is not equivalent to active exercise. A motor should not push a painful or restricted knee through its range. Ask your rehabilitation team if assisted movement is appropriate.
Does seated pedaling replace walking and strengthening?
No. It can be one part of an activity routine, but it does not necessarily provide the same strength, balance, or everyday walking demands. A tailored program may include several activities according to your abilities and goals.