Begin with the interface, not a knee diagnosis
The cleat is the part attached to your cycling shoe that engages with a compatible pedal. It helps define where the foot sits and what movement remains available while connected. That makes it relevant to a bike-fit discussion, but it does not make a cleat adjustment a diagnosis. The same painful area can have different causes in different riders.
This guide focuses on that shoe-pedal connection. For the wider picture, including saddle position, riding load and symptom patterns, use our cycling knee pain and bike-fit guide. Splitting the questions helps prevent a common mistake: repeatedly rotating the cleat because the knee hurts, without checking whether the problem actually began with a training change.
Before touching anything, identify what changed. New shoes, replacement cleats, a borrowed indoor bike and a new pedal model are different situations. Write down the exact equipment and when symptoms started. A short history can help a fitter or clinician decide what deserves attention and avoid an expensive sequence of unrelated experiments.
Float and release tension answer different questions
Rotational float is the angular movement the shoe can make while still clipped into the pedal. Release tension concerns the resistance encountered when engaging or disengaging the mechanism. These are not interchangeable adjustments. Making a pedal easier to release does not necessarily give the foot more freedom during each pedal stroke.
Shimano's SPD-SL instructions explicitly distinguish spring tension from cleat float. The cleat model determines the specified rotational range, while the pedal's tension adjustment affects engagement and release. Other systems have their own designs and controls. Read the documentation for the model in front of you rather than assuming a video about another pedal applies.
Also distinguish the amount of available float from where your foot sits within it. A rider can have a floating cleat yet repeatedly reach one end of its movement. Increasing the advertised range is not the only possible response. Position, shoe clearance and the rider's movement need consideration together, ideally by someone qualified to assess the complete setup.
| Term | What it describes | What it does not establish |
|---|---|---|
| Rotational float | Permitted angular movement while engaged | A guaranteed treatment for knee pain |
| Release tension | Resistance when clipping in or out | The amount of rotational freedom |
| Cleat position | Location and orientation beneath the shoe | Compatibility with every pedal |
| Stance width | The side-to-side relationship of the feet on the bike | A universal alignment target |
Know exactly which system you own
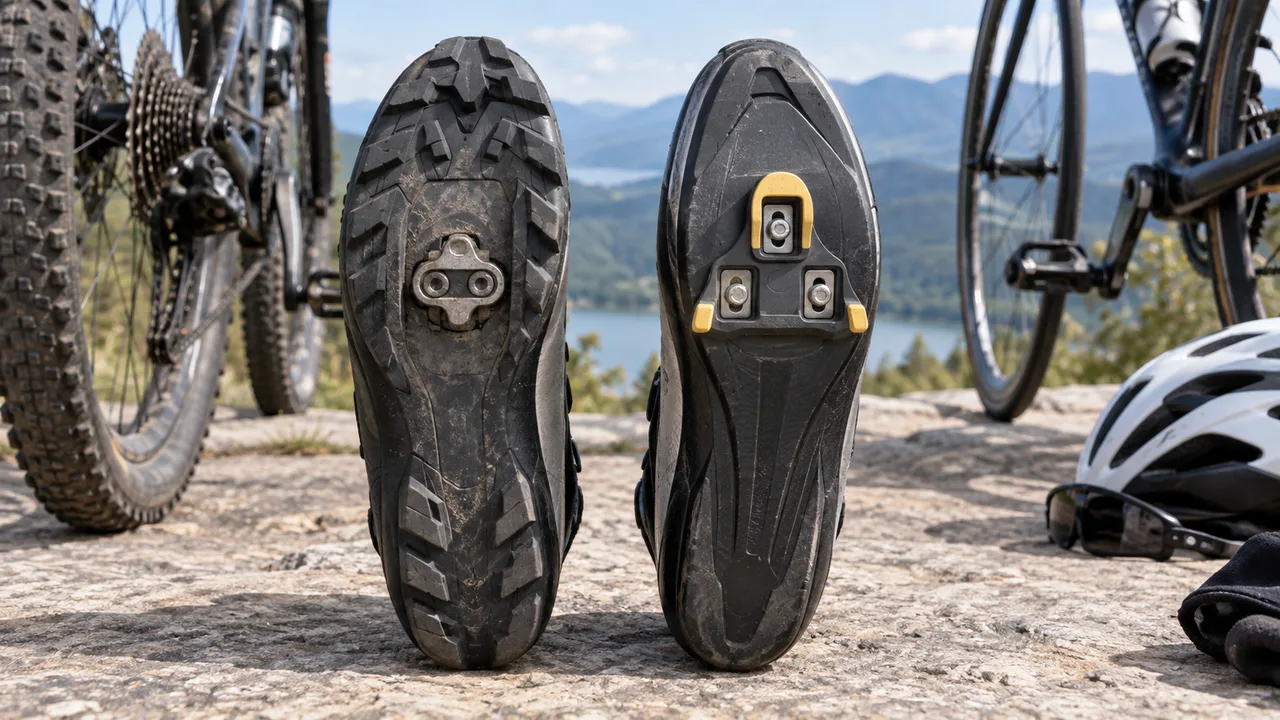
SPD and SPD-SL are different interfaces despite sharing a manufacturer and part of a name. A shoe's mounting pattern, the cleat and the pedal must work together. A photograph that looks approximately right is not a compatibility check. Read the model markings and the manufacturer's current documentation, particularly if a secondhand bike has mixed or replaced components.
For the established Shimano SPD-SL range, yellow SM-SH11 cleats specify six degrees of total float, blue SM-SH12 two degrees, and red SM-SH10 no float. Those figures describe hardware, not a ranking from safest to most dangerous. Pivot behavior also differs. Do not choose a fixed cleat because its color seems more professional or because another rider prefers it.
Product families can change. Shimano also now lists an SPD-SLR system with its own CL-SL model names. Do not carry an older color-based rule into a new system without reading the exact specification and compatibility information. Naming the full model is more reliable than telling a shop that you need the blue ones.
Foot angle should not be forced to look symmetrical
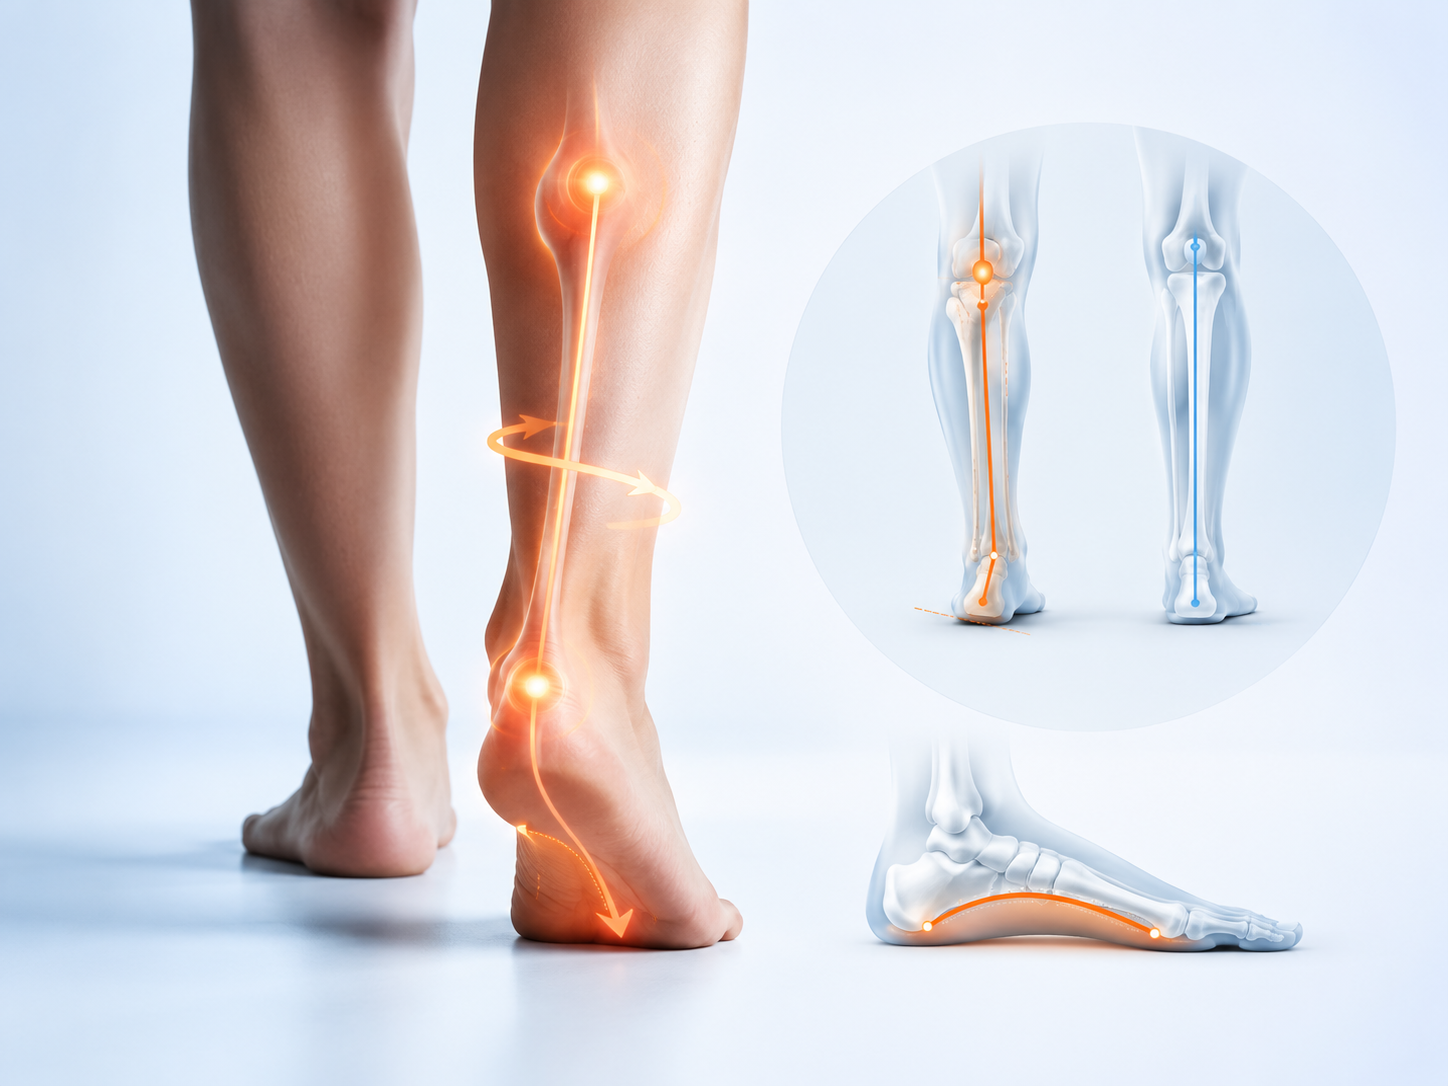
It is tempting to make both shoes point straight ahead because the setup looks tidy. Human movement is not always visually symmetrical, however, and a position chosen for appearance may feel restrictive. Do not use a photograph of a professional cyclist as a template for your feet. The relevant question is whether your own movement is comfortable and appropriately supported.
A fitter may observe pedaling, foot position and the relationship between the shoe and available float. A clinician may need to assess symptoms or a movement limitation. These roles can complement each other. Neither a casual glance from behind the bike nor a single still image establishes how your knee should move throughout a loaded pedal stroke.
Do not prescribe yourself wedges or unusual spacers from an online alignment diagram. Such products can change the interface in several ways and may have compatibility restrictions. A suspected leg-length difference also needs more than a home estimate. Seek an individualized assessment before using equipment to correct a problem you have not established.
Fore-aft position and side-to-side position are separate
Rotating a cleat is only one possible adjustment. Moving it forward or backward changes the relationship of the pedal spindle to the foot. Moving it sideways can change the foot's position relative to the crank and frame, within the limits of the hardware. These directions should not be confused when documenting an adjustment or discussing a symptom.
A change that seems small on the sole may also affect heel clearance, shoe contact or the feeling of the saddle relationship. This is why the entire position needs checking afterward. Avoid drawing a universal arrow that says inside knee pain means move the cleat this way. The location of pain cannot reliably choose the direction or size of a hardware adjustment.
Manufacturers specify mounting limits and installation requirements for a reason. If you have reached the end of a slot or cannot obtain appropriate clearance, do not file the part or force the bolt into a new position. Ask a qualified fitter and mechanic to determine whether the equipment is suitable. A workaround that compromises secure attachment is not a successful fit.
Replacing cleats is a good time to document the setup
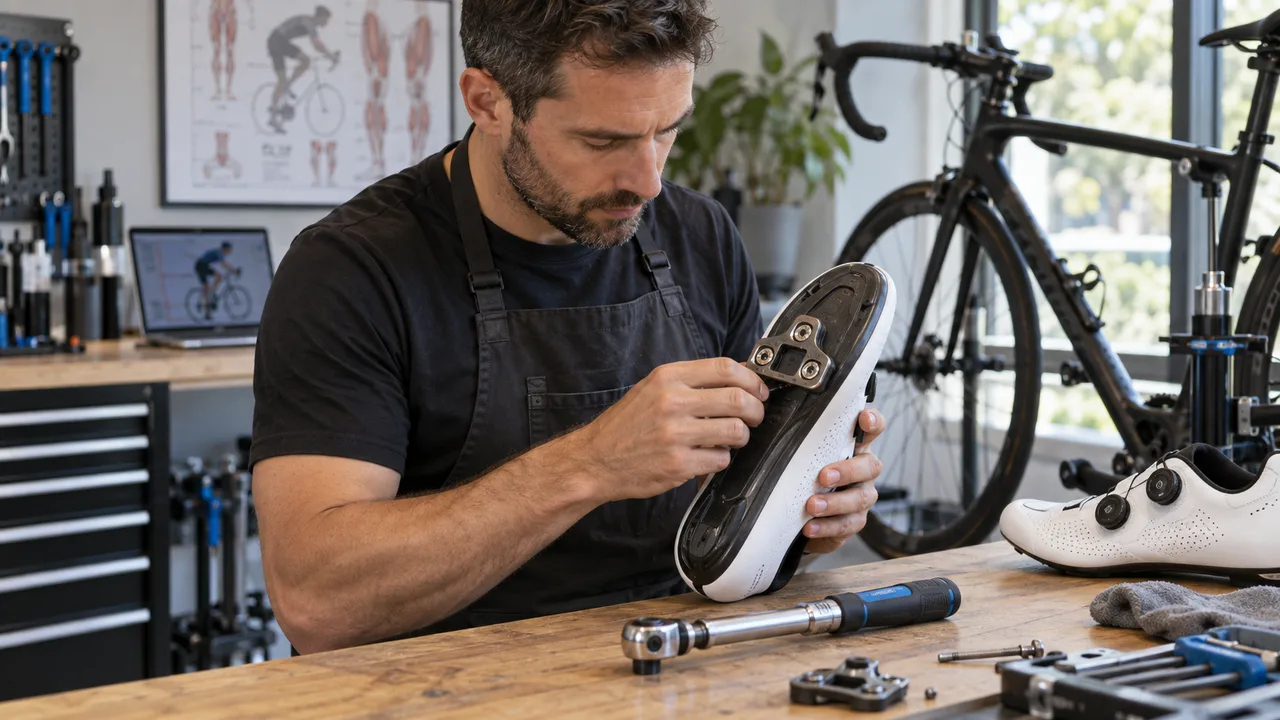
Before removing a worn cleat, photograph its position and record the model. Existing outlines or marks can provide a starting reference, but worn hardware may already have been moving unpredictably. The replacement still needs a proper check. Copying a position exactly is useful only if the original setup was appropriate and the replacement is genuinely equivalent.
Use the correct hardware and tightening procedure from the manufacturer. This guide deliberately does not give one torque value for every shoe and pedal system. Threads, bolts, washers and soles differ. If you lack the specified tools or are uncertain about the installation, a competent bicycle mechanic is a better option than estimating tightness by feel.
After installation, confirm secure engagement and release in a supported, safe environment before heading into traffic. Recheck as instructed by the manufacturer. Any unusual looseness, inconsistent release or visible damage is a mechanical issue to resolve, not something to ride through while waiting for the new setup to feel familiar.
Shared indoor bikes create a different compatibility problem
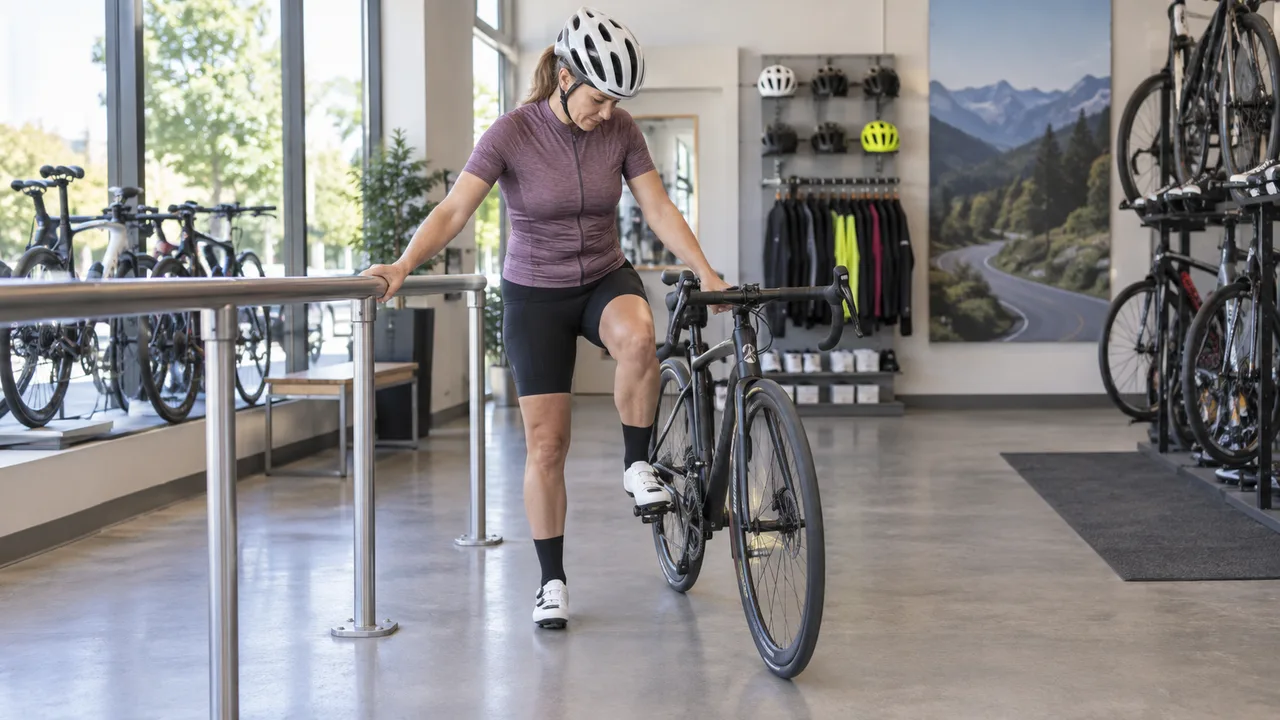
A gym may have several pedal types across its bikes, and a studio can change equipment without changing the class name. Confirm compatibility before arriving with your own shoes. Do not force a cleat into an unfamiliar mechanism because it almost engages. Ask the staff which exact system is fitted and how they check the equipment.
If using an approved cage or strap arrangement, make sure it is intact and adjusted according to the equipment instructions. Foot security and the ability to stop safely still matter. The aim is not to make every rider use clipless pedals. It is to choose a safe interface that suits the bike, your skills and the activity.
Remember that new discomfort after a studio class may reflect both equipment and workload. Standing climbs, repeated hard sessions and resistance changes are discussed in our indoor cycling knee pain guide. A cleat adjustment cannot compensate for every increase in class demand, so record the training context alongside the hardware.
Use a controlled comparison, not a long test ride
When a professional recommends a change and riding is appropriate, begin in a familiar controlled setting. Keep the ride manageable rather than choosing a new route with steep climbs. The point is to observe the position and equipment, not to stress-test a painful knee. If you cannot comfortably engage or release, stop before adding speed or traffic.
Write down what was changed, by whom and why. Record whether the foot repeatedly reaches a float limit, whether the shoe contacts the crank and whether symptoms alter during or after the session. These observations help a follow-up discussion. They should not become an invitation to keep riding until you provoke a clearer or more severe response.
If several changes were necessary together, acknowledge that you are evaluating the overall fit rather than proving one angle was responsible. This honesty matters. Otherwise, a useful professional adjustment can become an oversimplified rule that you later apply to a different bike or recommend to another rider whose situation is not comparable.
What research says about setup and knee symptoms
Cycling biomechanics research shows that external settings can alter joint movement and loading. A systematic review covering multiple equipment and riding variables also found limited direct evidence linking individual parameters to injury. That distinction allows sensible fitting work without claiming that a particular cleat color prevents knee injuries or that a certain angle treats a named condition.
Use technical information to ask better questions, not to overrule symptoms. A configuration may be mechanically compatible yet unsuitable for your current needs. Conversely, an unfamiliar feeling after a change is not automatically damage. Persistent or worsening pain needs assessment, with the bicycle considered as one part of the picture rather than the only possible explanation.
Accessories cannot hold the knee in the correct pedal line
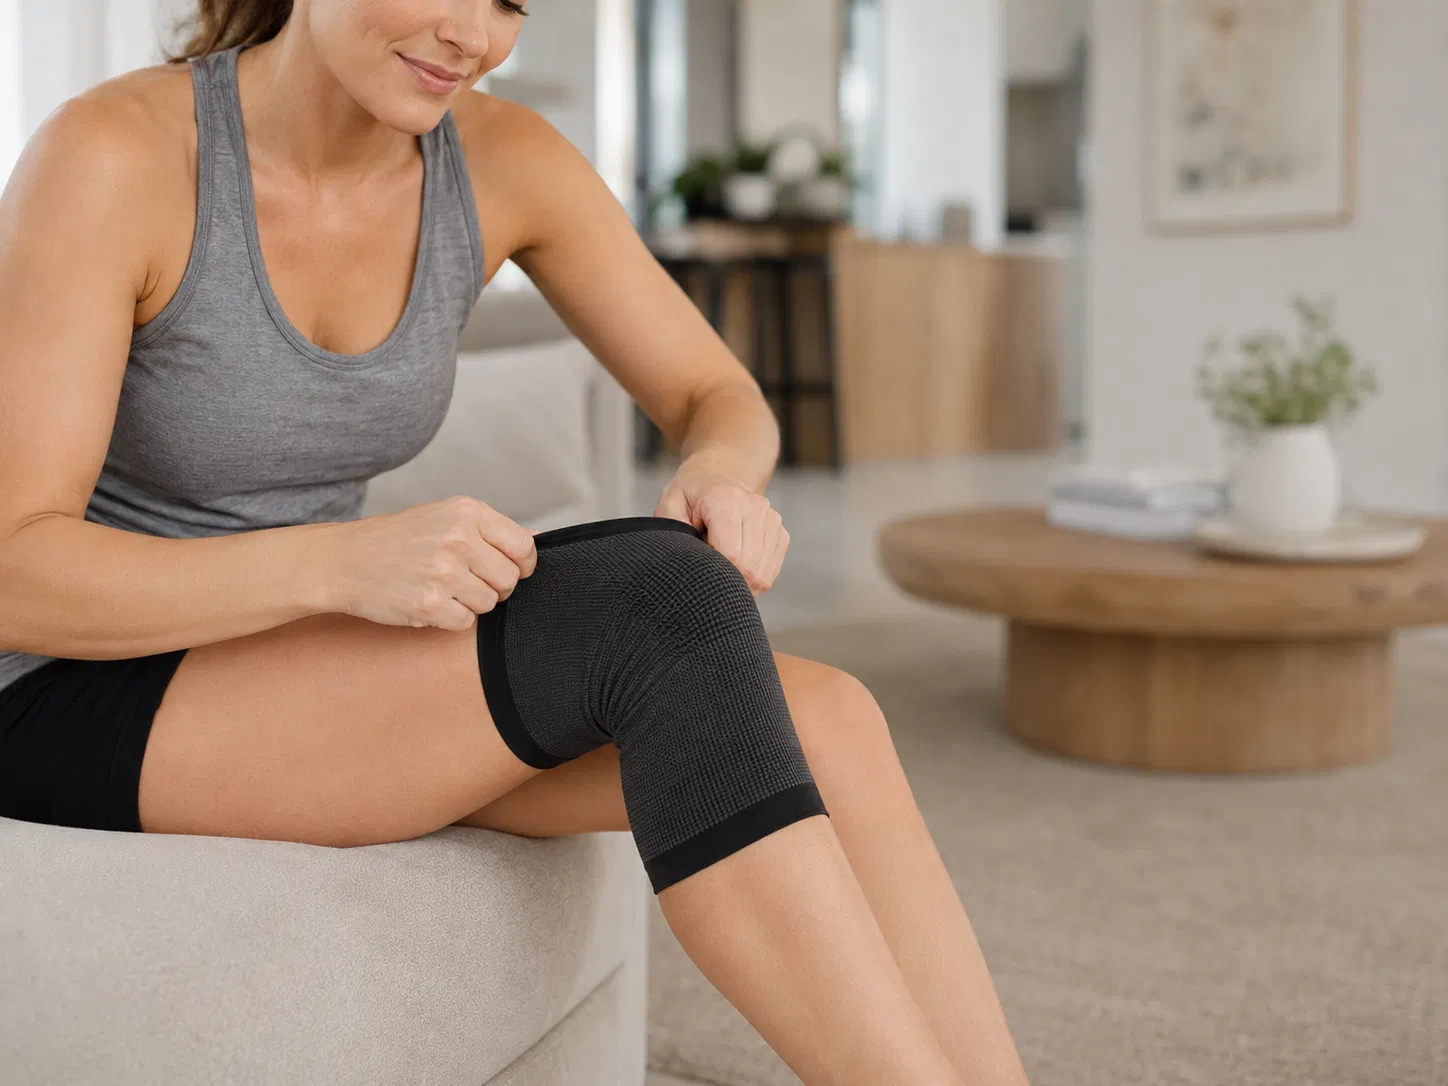
A soft sleeve is not a tool for correcting cleat position, and tightening one until the knee feels constrained is not a fitting method. If you want optional coverage, our sleeve, warmer and brace comparison explains the different purposes. Keep a garment comfortable and separate its role from the mechanical connection beneath your foot.
Likewise, changing crank length is a separate decision with its own compatibility and positioning consequences. Read the shorter-crank guide if that option has been raised. Do not combine several purchases because one internet comment suggests that the perfect collection of components will remove every source of discomfort.
Know when to stop troubleshooting the bicycle
Seek prompt medical advice for a severely painful or markedly swollen knee, inability to bear weight, locking, deformity or a hot red joint with fever. Pain following a fall or twist should not be treated as a routine cleat puzzle. Ongoing symptoms that interfere with walking or sleep also deserve a clinical review rather than endless hardware adjustments.
For a fitting appointment, bring your actual shoes and describe the symptom timeline, recent workload and every change you have made. Ask what the proposed adjustment is intended to achieve and how it will be checked. A successful outcome is a secure, usable interface within a suitable riding plan, not a foot angle that simply looks correct in a photograph.
Worked example: new shoes, the same cleats, a different feeling
Consider a rider who transfers the same cleats onto new shoes and develops discomfort during familiar riding. The cleat model has not changed, but the sole shape, mounting slots and position of the foot inside the shoe may differ. Copying a distance from the outside edge of the old sole does not guarantee the same relationship between foot and pedal.
A useful appointment would include both pairs of shoes, the pedal model and a description of when the discomfort appears. The fitter can check the actual interface and the clinician can assess symptoms when needed. The first response should not be an unsupported instruction to rotate both cleats by a fixed number of degrees.
If a change is recommended, document it and use a controlled comparison within an appropriate riding plan. Check secure installation and release before adding road demands. This hypothetical example shows why equipment history matters: a change can be relevant without proving causation. It also explains why an adjustment that helped one rider should not become a universal rule for every person with pain in the same part of the knee.
Frequently Asked Questions
Can cycling cleats cause knee pain?
An unsuitable or changed shoe-pedal setup may contribute to discomfort, but pain also has other possible causes. Check the whole riding position and workload rather than diagnosing the knee from cleat angle alone.
Is more float always better for painful knees?
No universal float setting is best. The useful question is whether the available movement suits your natural position without repeatedly reaching its limits, while the system remains secure and compatible.
Does loosening pedal tension increase float?
On Shimano SPD-SL, spring tension changes how easily you engage and release; it does not change the cleat's specified float. Follow the manual for your exact pedal.
Should my feet point straight ahead on the pedals?
Not necessarily. Do not force a visually symmetrical position to treat pain. Individual foot position and the whole movement pattern should be assessed when needed.
Are SPD and SPD-SL cleats interchangeable?
No. The system names describe different shoe-pedal interfaces. Confirm the precise cleat and pedal model rather than choosing by brand, color or a similar appearance.
Can I copy my old cleat position onto new shoes?
Old position marks are a useful reference, not a guarantee. Different soles, mounting slots, shoe shapes and cleat models can change the result, so the new setup needs checking.